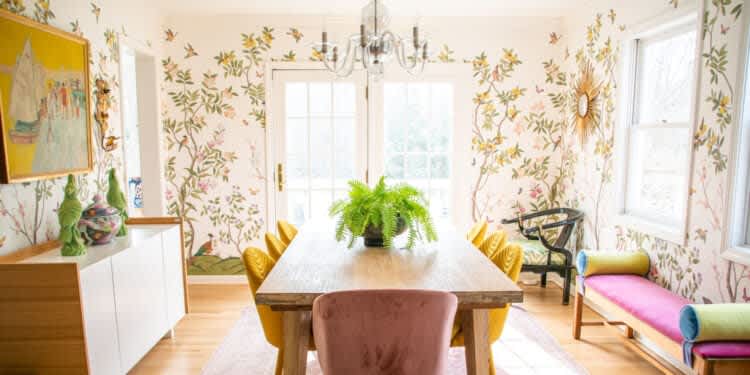
Did you love the plant stand from the latest cover of NEST Magazine?

Ready to make your own? Follow along with Graeme’s cut list and instructions! (Click here for a printable PDF)

SUPPLIES
- (8) 1” x 3” x 8’ pine boards (actual 3⁄4” x 2 1⁄2 ” x 8’)
- (2) 1” x 12” x 8’ pine boards (actual 3⁄4” x 11 1⁄4” x 8’)
- Wood glue
- 2” finishing nails
- Wood filler
- Water-based wood pre-stain conditioner
- Wood stain in Early American
- 3” paint brush
- Clean rags
- Nitrile gloves
TOOLS
- Miter saw
- Cordless brad nailer
CUT
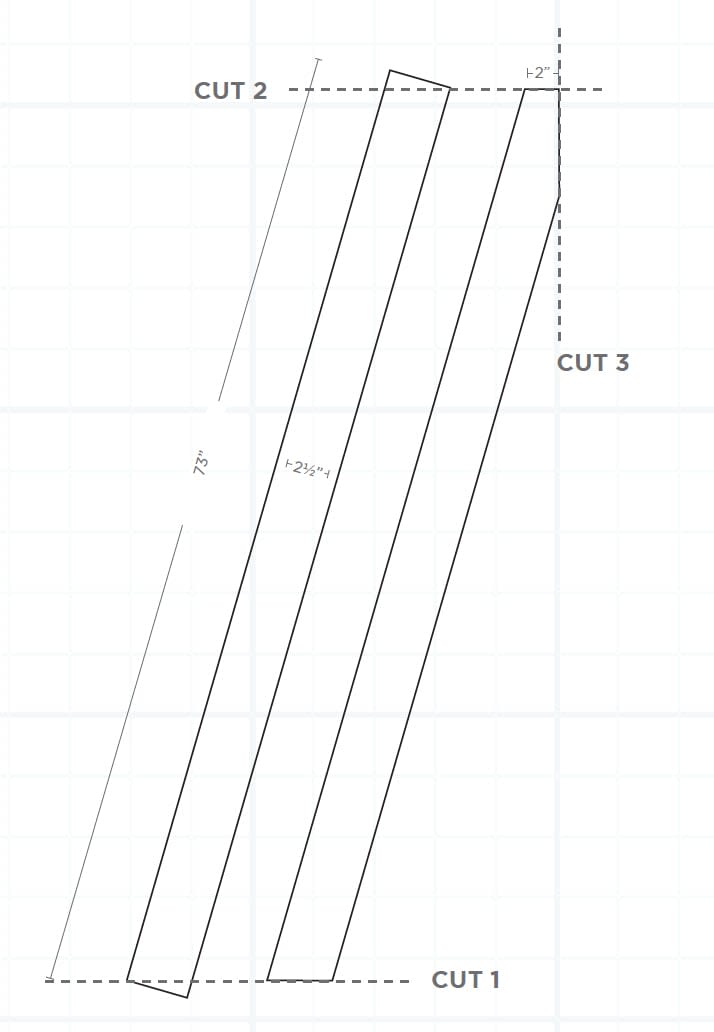
STEP 1 – CUT 4 long boards
CUT all four 1” x 3” boards to 73” length, repeat 3 times for 4 boards total
- CUT #1 – cut the bottom of each board at a 15 ̊ angle
- CUT #2 – cut the top of each board at a 15 ̊angle, parallel to the bottom cut
- CUT #3 – beginning 2” from the edge, cut the inside edge at the top of each board at a 15 ̊ angle in the opposite direction
STEP 2 – CUT 9 support boards
- Cut 1” x 3” boards to 11 1⁄2” length, repeat 8 times for 9 boards total
STEP 3 – CUT 4 shelves
- Cut 1” x 12” boards to lengths: 19”, 26”, 33”, 40”
ASSEMBLE
STEP 4 – Assemble frame
- Place the cut edges of 2 of the long boards together to create an “A” shape
- Using the brad nailer, nail through the face of the long board into the top support board, as shown below
- Repeat with remaining 2 long boards, nailing them into the opposite side of the top support board
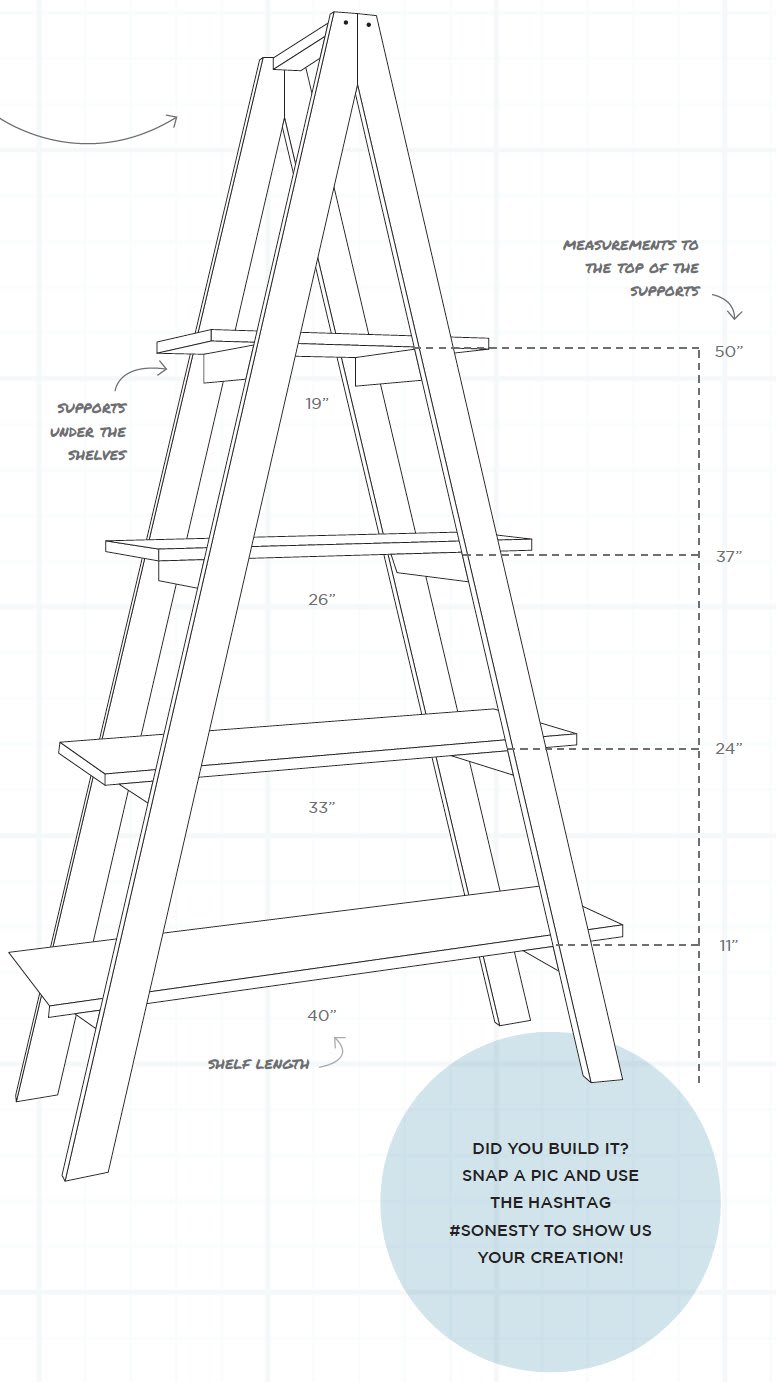
STEP 5 – Attach supports
- Using a level to ensure that the supports are perfectly upright, attach the first pair of support boards between the “A” frames, with the top edge 11” from the ground
- Repeat at 24”, 37” and 50”
STEP 6 – Install shelves
- Set each of the shelves onto the supports, with the longest shelf on the bottom
- Leave shelves unattached so the entire unit is easy to move as desired
STEP 7 – Condition
- Wearing gloves and using a brush, apply pre-stain conditioner to all wood surfaces
- Allow to sit 5 minutes, then wipe off excess with clean, dry cloth
- Wash brush with soap and water
STEP 8 – Fill in holes
- Using wood filler, fill in each of the holes created by the finishing nails
STEP 9 – Stain
- Using the brush, liberally apply one coat of stain, then immediately wipe off excess with clean rag
- Allow to dry 2-3 hours, then apply a second coat of stain
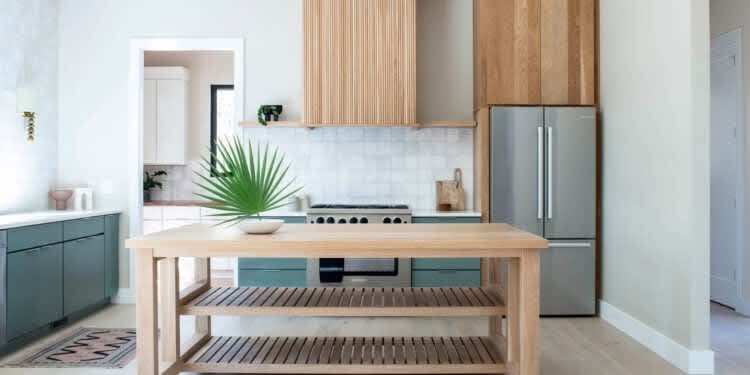
STEP 10 – Add plants!
- Step back and enjoy your amazing work!
Nest Realty Wilmington Broker Matt Orr made two of these plant stands!! Check out Part 1 here:
And Part 2 here:
Heck yes!!! Give it a try and let us know how it goes! Use the hashtag #SOnesty to show us your creation!
We shared this story with you in our Spring/Summer 2020 Issue of NEST Magazine. To view the full issue, click here.
Written by Jasmine Bible on May 27, 2020 Posted in Asheville, Charlottesville, Fredericksburg, Greater Louisville and Southern Indiana, Greensboro, Jackson, Lake Norman, NEST Magazine, New River Valley, Raleigh-Durham, Richmond, Roanoke, Shenandoah Valley, Spring/Summer 2020, Wilmington Tags: #diy, a-frame plant stand, DIY Plant Stand, diy tutorial, gardening, gardening stand, indoor plants, plant stand, plants, summer bucket list Comments closed